Introduction
Thanks for considering to contribute to this knowledge garden. Before going through with the setup process, I will briefly explain how this all works.
All notes are written in a language called Markdown, a incredibly simple but powerful language that can incorporate HTML and CSS.
The text-editior of choice can be as simple as notepad but I strongly recommend everyone to use Obsidian. Obsidian is an incredibly powerful markdown editor, with tones of plugins that just makes your life so much better and it’s open source like this notes and it’s run by an incredible community of developers and users. I love it.
After writing your Markdown Notes, everything will be published to Github, (an online code repository), and will be converted to a nice looking website, which is basically the one you are reading off right now. It does this conversion using Quartz 4.0. It’s an open-source static site generator.
We use Github to keep track of big changes, and keeps a list of commit history and helps to publish the notes to their website.
Dropbox is used to instantly sync the notes with every other devices accessing a copy of obsidian with this notes.
Without further ado let’s Setup your PC for Notetaking.
REWRITING OF THE INSTALLATION
IS REQUIRED
Continuing to follow the instructions bellow may require a very long time and you may get stuck in the process. A better, more intuitive solution is on the way.
A step-to-step guide for the new solution will be written shortly after the new solution is made public.
Creating a Github account
-
Sign up for a Github account using this link https://github.com/signup.
-
Don’t forget your credentials, you will be needing them later. I recommend you to save them with some password manager. I use google password manager.
-
You will need to message Harsh, or any other existing contributors. In this message, Include your personal Name and your Github username. This required to add your Github account as a contributor to the repository. This change will allow you to push commits to the server, aka allow you your changes to reflect on the server (Github) and the website.
Warning: Message Harsh or any other contributors first
You can continue setting up your system for Notetaking but I have to warn you that without the authorization from Harsh or any other contributors, you will not be able to fully complete the Installation process. You will have to pause before starting Cloning the project.
Installation Instructions
Install NodeJS and NPM
-
Install NodeJS and NPM by clicking on this link https://nodejs.org/en/download/prebuilt-installer, choose the one that fits your operating system. Click on the installer to start the installer.
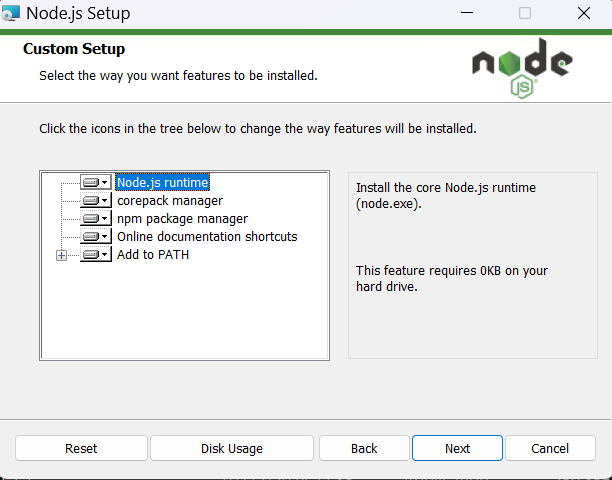
For all of boxes with arrows, click the little arrows beside them and select
Entire feature will be installed on local hard drive. Make sure to do for all boxes, this is very important.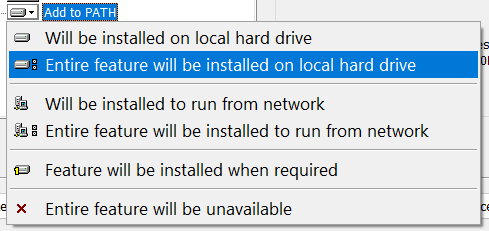
After doing this click the
Nextbutton.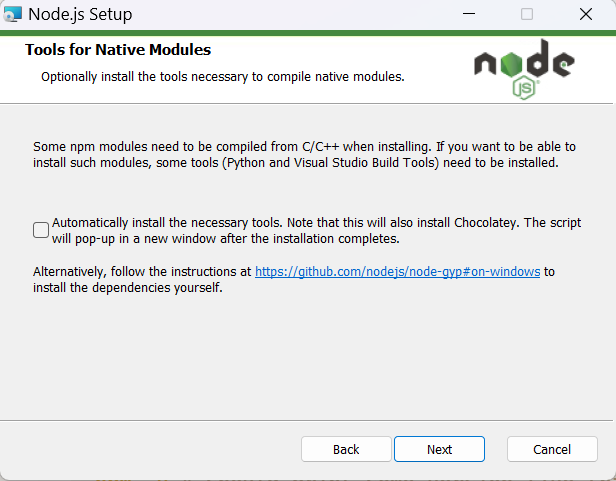
There is no need to install Chocolatey as the process fails or stays stuck in a endless loop if you click on it. But if your computer is compatible with it, you can choose to click on it. After deciding, click next to finish setting up NPM and NodeJS.
-
Opening the terminal by following these platform dependant steps.
If you are on windows:
- press the
windows+sbutton on your keyboard - search for “Terminal” or “CMD” and press enter.
If you are on Mac, you can do one of the two:
- press the
-
Click the Launchpad icon in the Dock, type Terminal in the search field, then click Terminal.
-
In the Finder, open the /Applications/Utilities folder, then double-click Terminal.
-
Once the terminal is open, run this command,
node -v. This command verifies the if NodeJS is installed successfully. It should output some version number like "v22.12.0". -
Once the first command runs successfully and outputs a version, run a second command
npm -v. This command verifies the if NPM is installed successfully. It should output some version number like "10.9.0".
If steps 3 and 4 do not work, contact Harsh.
There is a common error that is provided by window systems, for accounts that are not
Administors. Usuallynode -vcommand may work butnpm -vcommand fail. In some cases, both will fail.As of this moment I am not sure what step is required to prevent this, and replication of the bug is required.
In the mean time, if this occurs to you, I will personally help you with the setup process.
Install Obsidian
- Install obsidian by clicking on this link https://obsidian.md, choose the one that fits your operating system.
Installing Visual Studio Code
-
Click on this link https://code.visualstudio.com and download VS Code, choose the one that fits your operating system. You can also install VS Code through the Microsoft Store.
-
After Installing, open VS Code. VS Code is an amazing Code IDE, but for our purposes, we will be using it’s terminal feature to run commands later. Once it is open it should look somewhat like this:
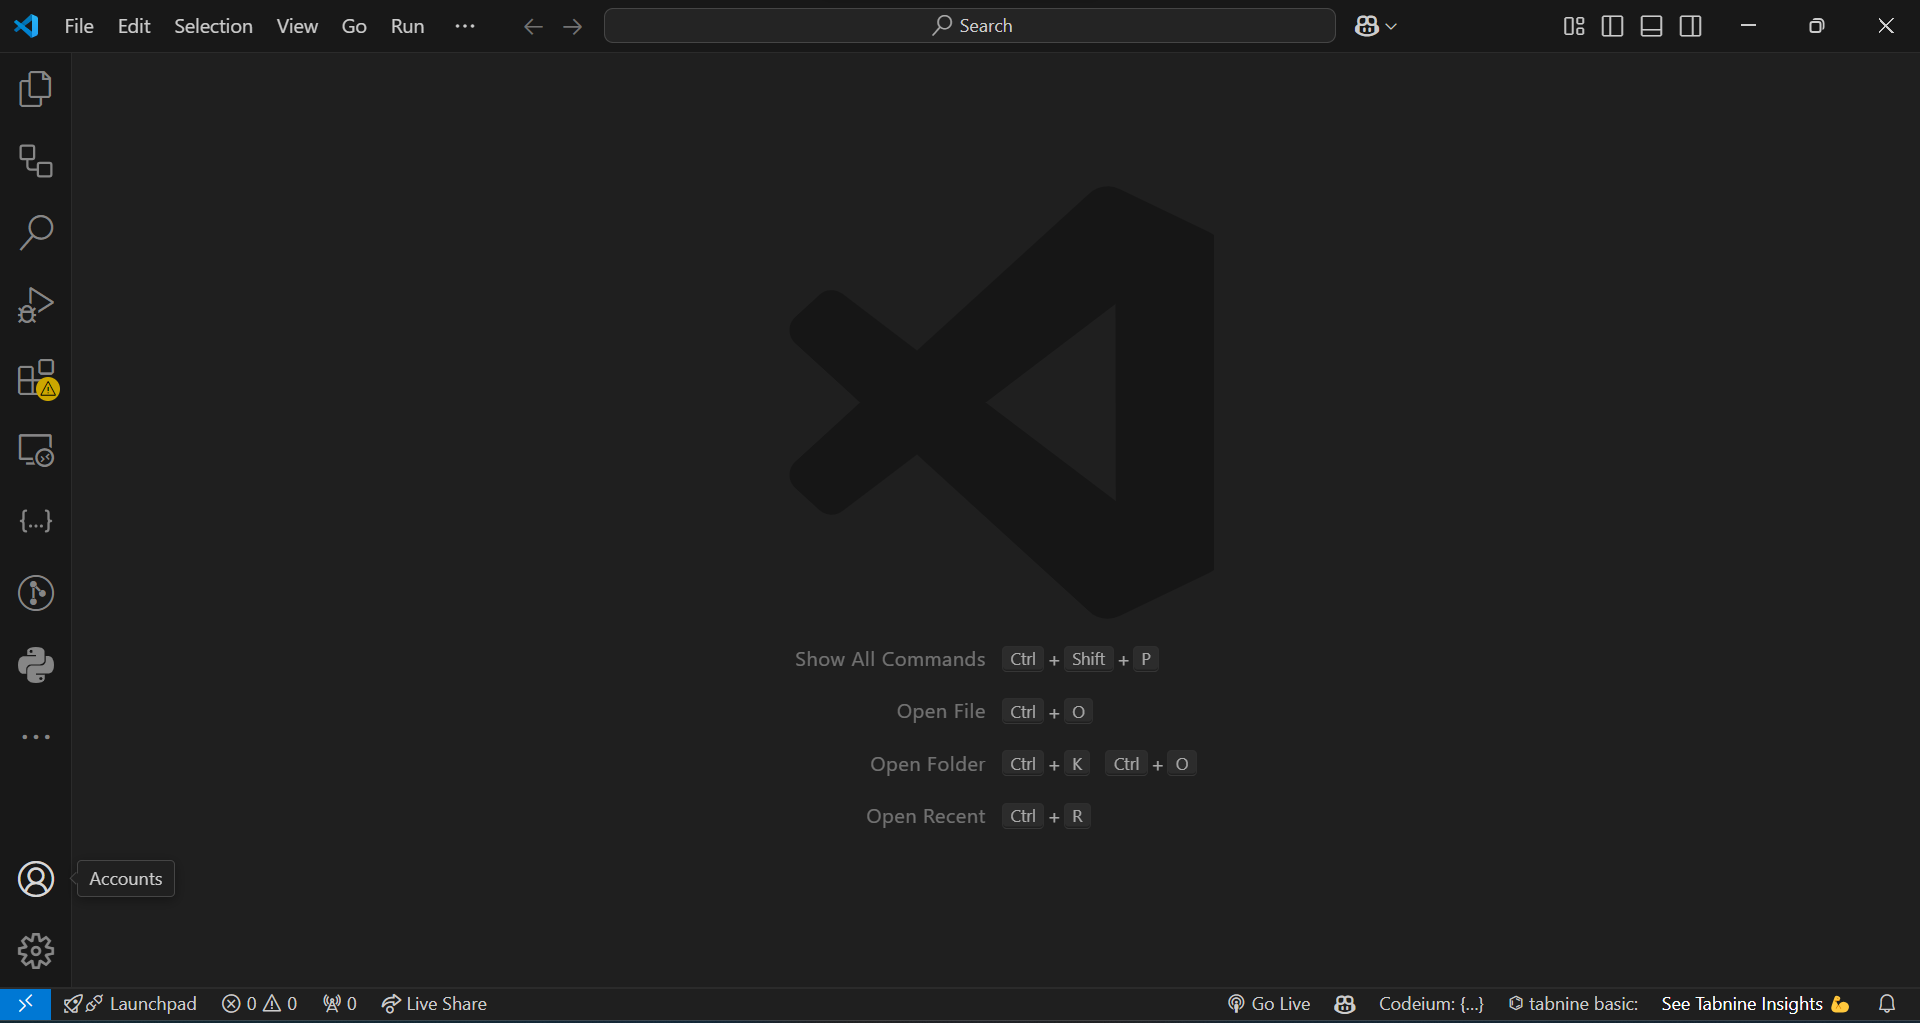
- Click the profile account and click sign in with Github or some option like that. In my case the options I had are shown in the image below. Just click anything with the word “Sign in”
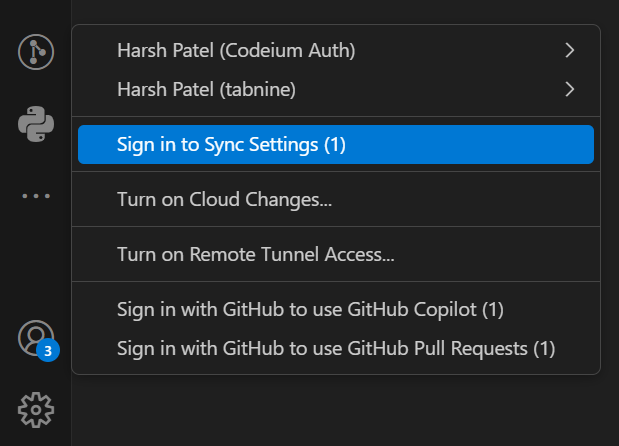
-
Clicking on the button will open a new tab in your browser which require you to sign in with your Github account. It will look a bit like this:
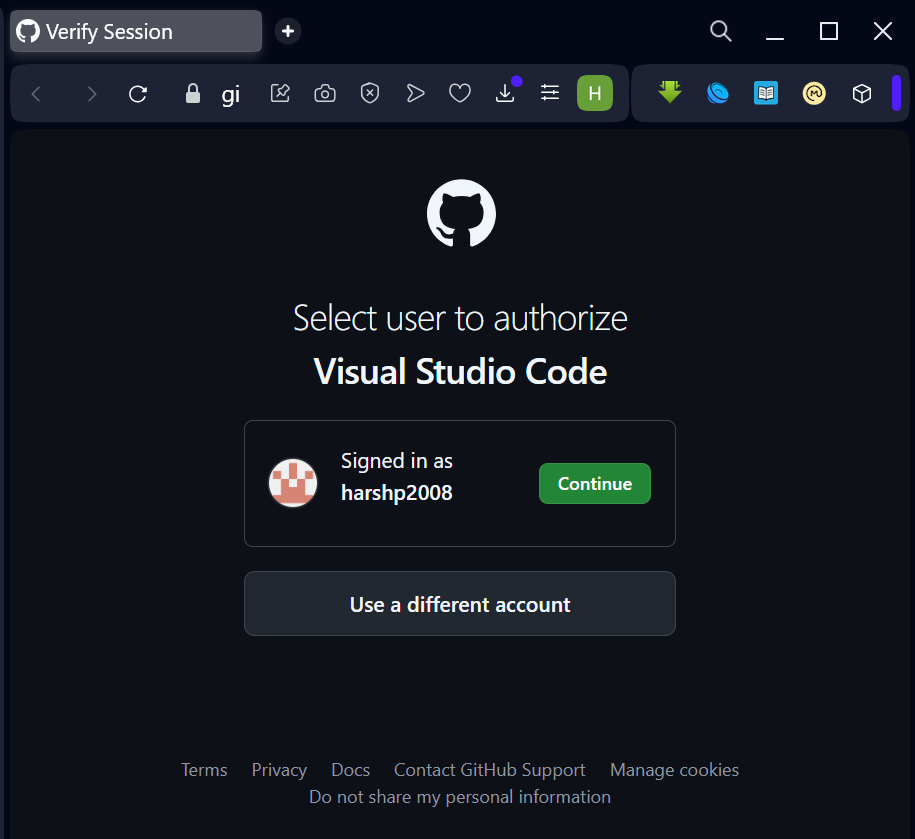
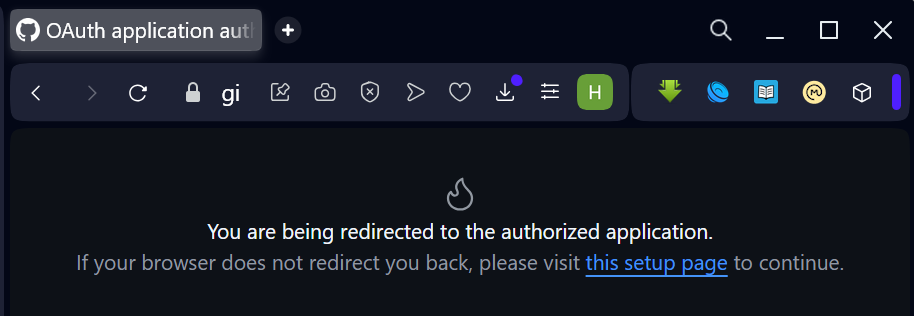
For me I get the option to directly continue as I have already signed in with Github in my browser. You may need to sign in with your Github account to continue. Once you sign in, you will be automatically redirected to VS Code again. It will look a bit like this:
Installing Git
-
Click on this link https://git-scm.com/downloads and download Git, choose the one that fits your operating system. Click on the executable file and start the installation process.
-
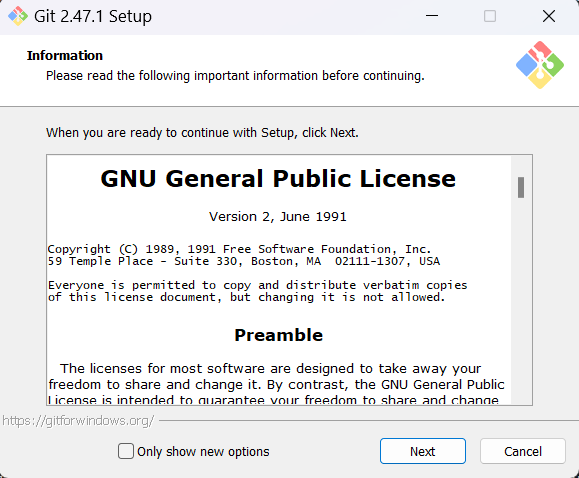
Accept the GNU General Public License by clicking Next
-
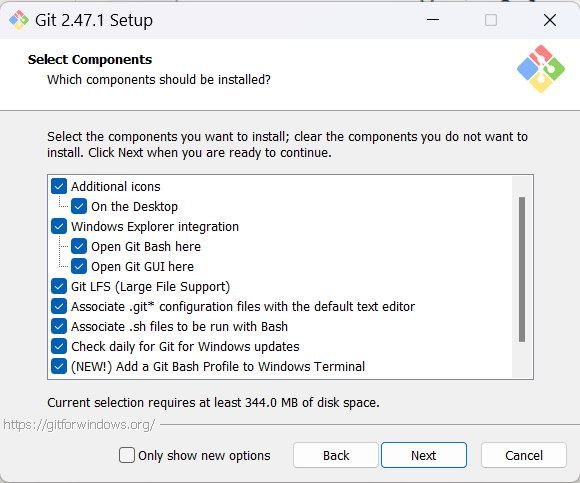
Accept all the Checkboxes and Click Next
-
Click on the dropdown menu and select
Use Visual Studio Code as Git's default Editor. After Selecting Click Next.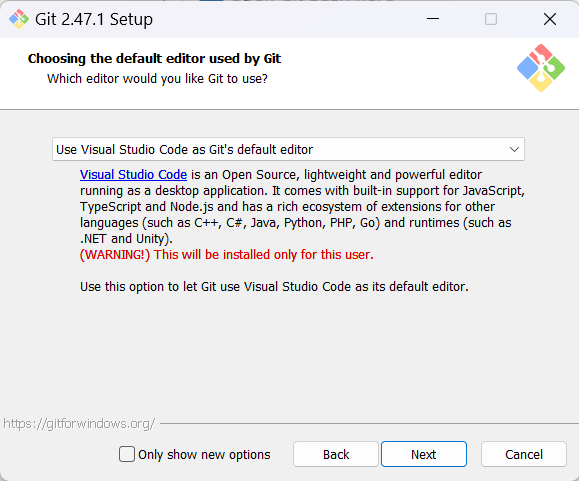
-
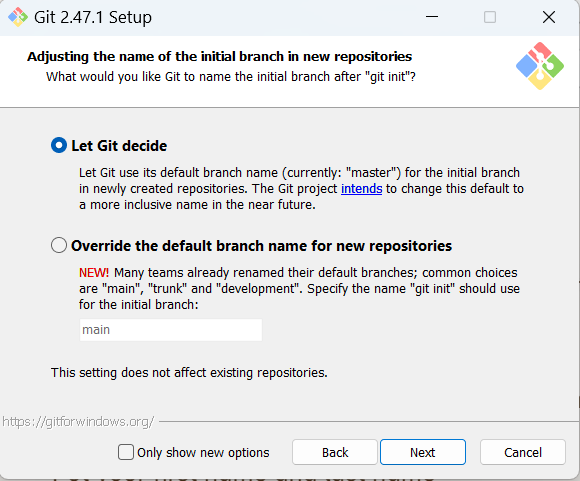
Leave things as it is and click next.
-
Leave things as it is and click next.
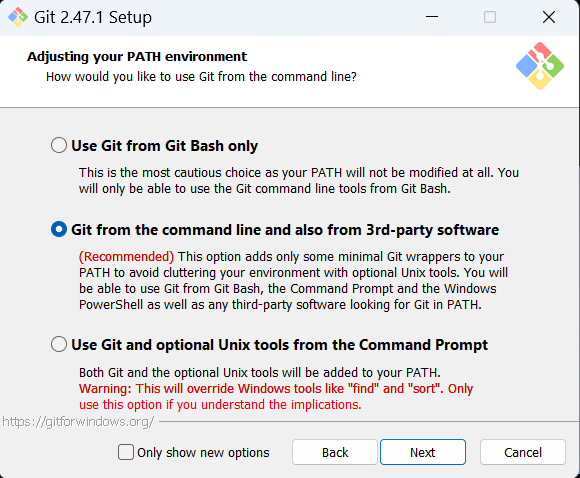
-
Leave this as it is, and click next.

-
Leave things as it is, and click next.
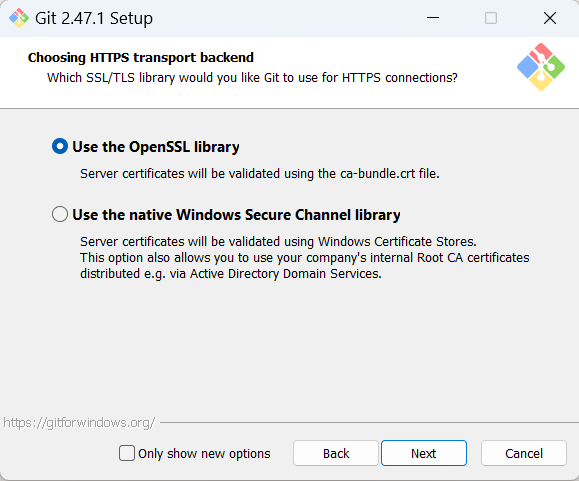
-
Leave things as it is, and click next
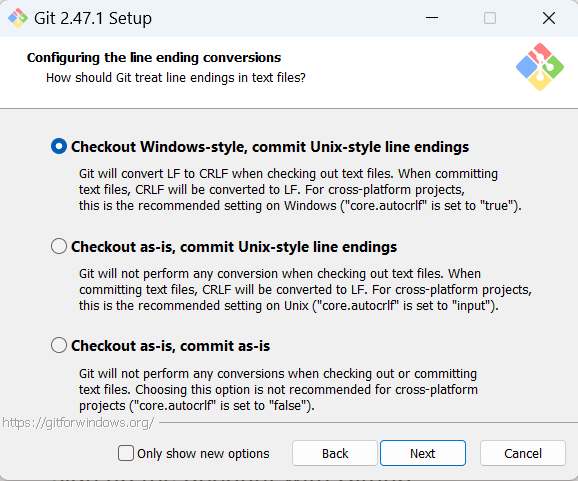
-
Leave things as it is, and click next.
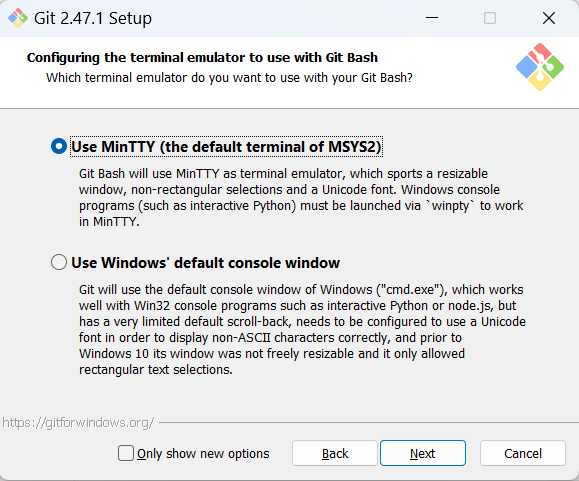
-
Leave things as it is, and click next.
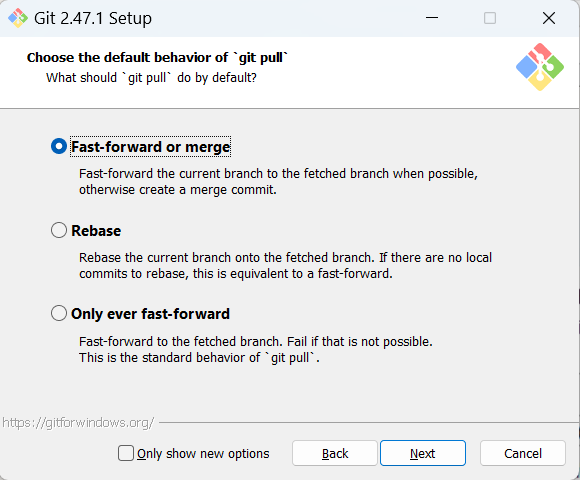
-
Leave things as it, and click next.
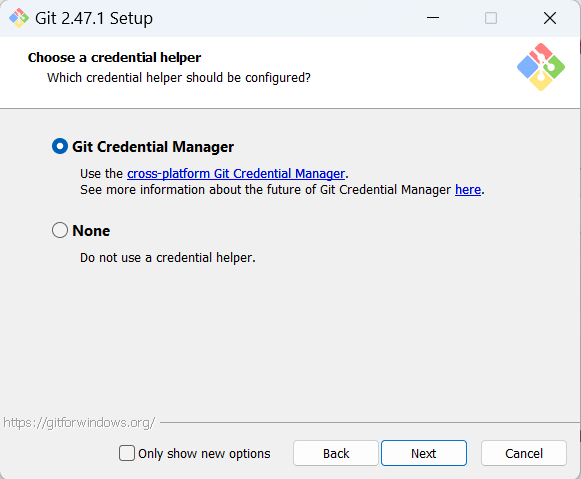
-
Leave things as it is and click Install.
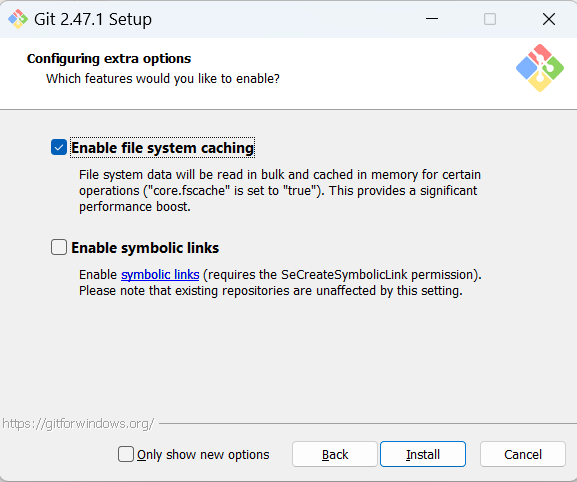
Setting up Git
-
Opening the terminal by following these platform dependant steps.
If you are on windows:
- press the
windows+sbutton on your keyboard - search for “Terminal” or “CMD” and press enter.
If you are on Mac, you can do one of the two:
- press the
-
Click the Launchpad icon in the Dock, type Terminal in the search field, then click Terminal.
-
In the Finder, open the /Applications/Utilities folder, then double-click Terminal.
-
After the terminal is opened, type
git versionand pressEnter, It should output something like this “git version” + the current version of Git. -
After verifying that git is installed, run the following commands one by one in the terminal:
Put your first name and last name
git config --global user.name "First_Name Last_Name"to confirm that it is successfully set run:
git config --global user.namethis should output your name back.
Type this in the command line, and make sure to use the username that you used to sign up the account with Github.
git config --global user.email "youremail@gmail.com"To confirm that you have set your Git email correctly, type this:
git config --global user.emailYou should have “youremail@gmail.com” as the output.
Installing Github Desktop
-
Click on this link https://desktop.github.com/download/ and download Github Desktop, choose the one that fits your operating system. Install the application.
-
Once Github Destop is installed successfully. Open it up.
-
Under Files, a dropdown menu in the top left, click the button labelled
options. It should open a pop up menu and should look a bit like this :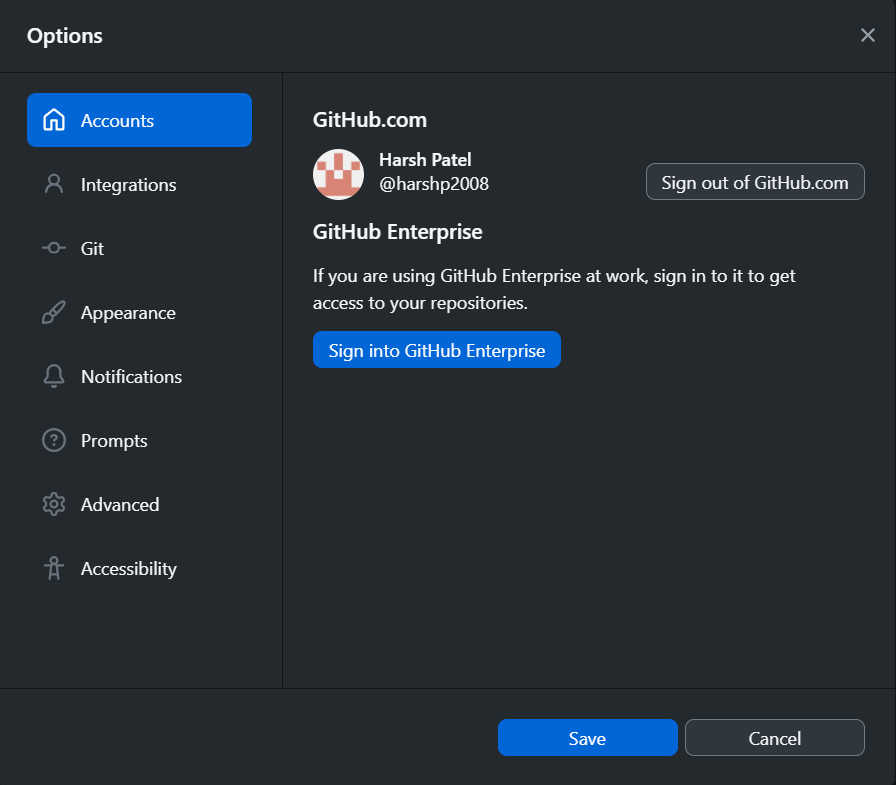
-
In my case, I have already signed in. You will be required to sign in. This will open a new tab in your browser, upon the completion of signing in, you should be redirected back to Github Destop.
-
Click
Gitin the drawer on the left.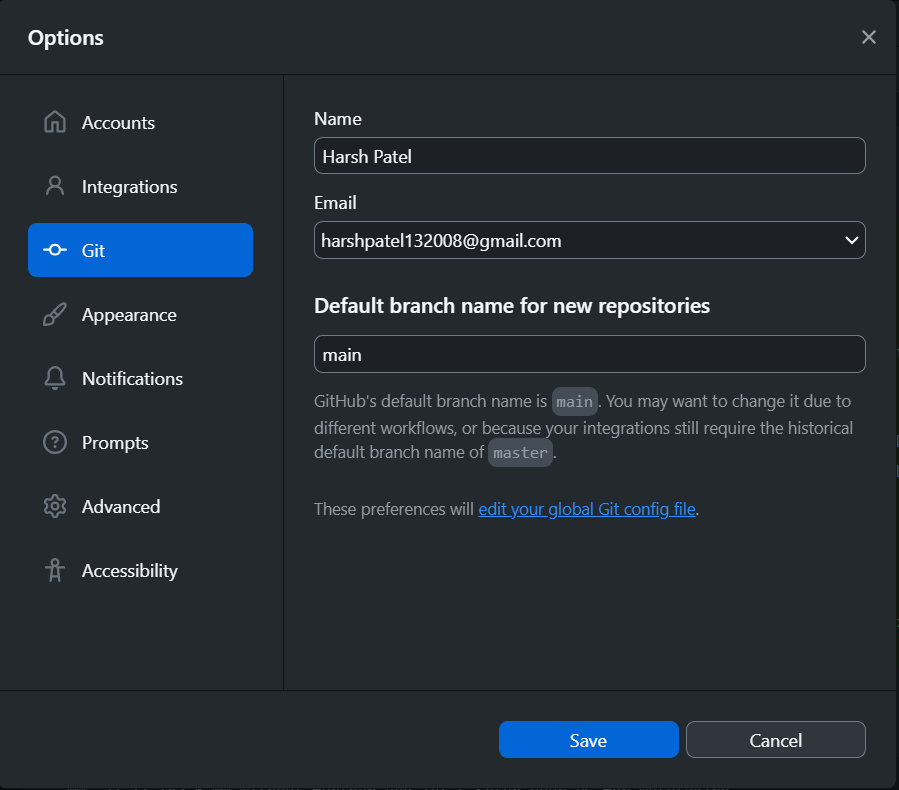
-
If the name and the email are not the ones that are being used with your Github account or are blank, you will need to fill them in. For email, use the email that you are using with your Github account. After doing that click the
savebutton.
Cloning the project
-
If Github Desktop is not opened, Open it.
-
Under
Files, clickClone a repository. A popup window should open that looks a bit like this :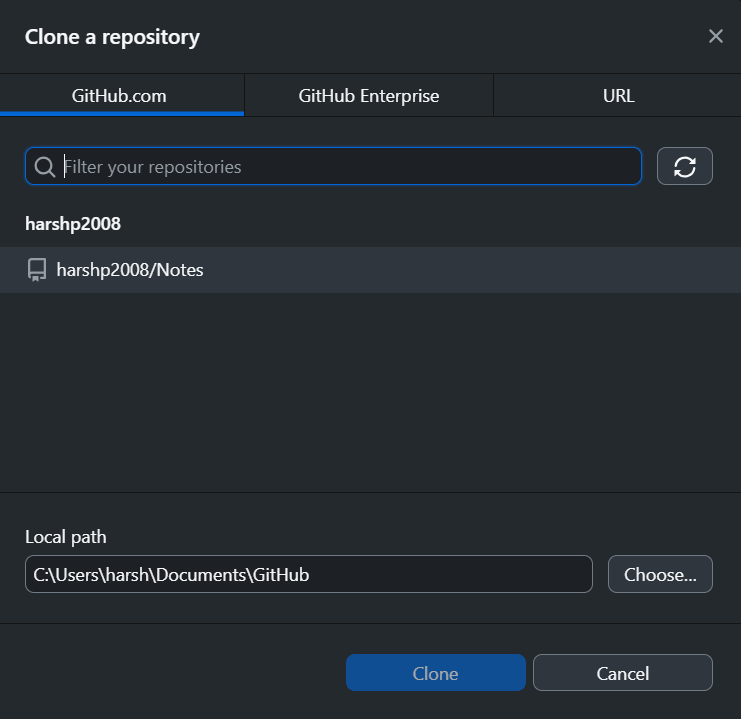
Account is not a contributor
If you do not see a
harshp2008/Notesoption as highlighted above, that means that Harsh and contributors haven’t given you contributor access to your account.DO NOT ATTEMPT TO CONTINUE
WITH THE SETUPYour account is not a contributor yet. To continue on with this step, you will be required to message Harsh or any other existing contributors. Message your Real Name and your Github username and we will provide you contributor access and notify you back when that’s done .
-
Click on
harshp2008/Notesand click theClonebutton. This will clone the online repository to your device. -
After the repository is successfully cloned, your Github Desktop will look something like this:
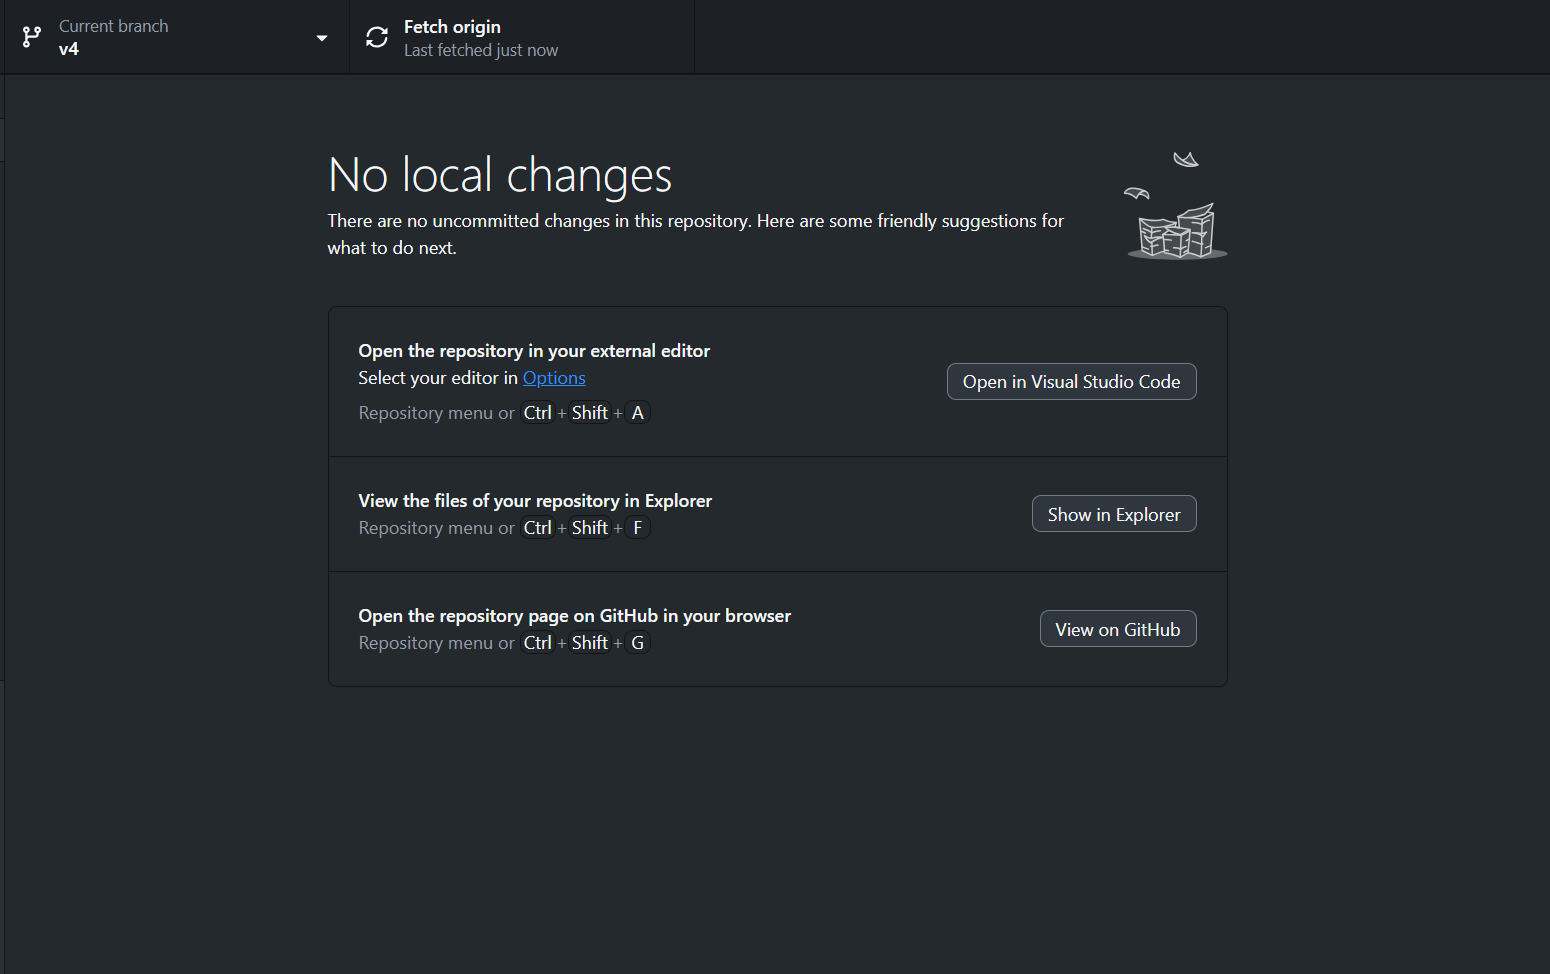
-
Click the
Fetch originbutton. -
Click
Open in Visual Studio Codebutton. This will open the Notes folder in VS Code, and it will look somewhat like this: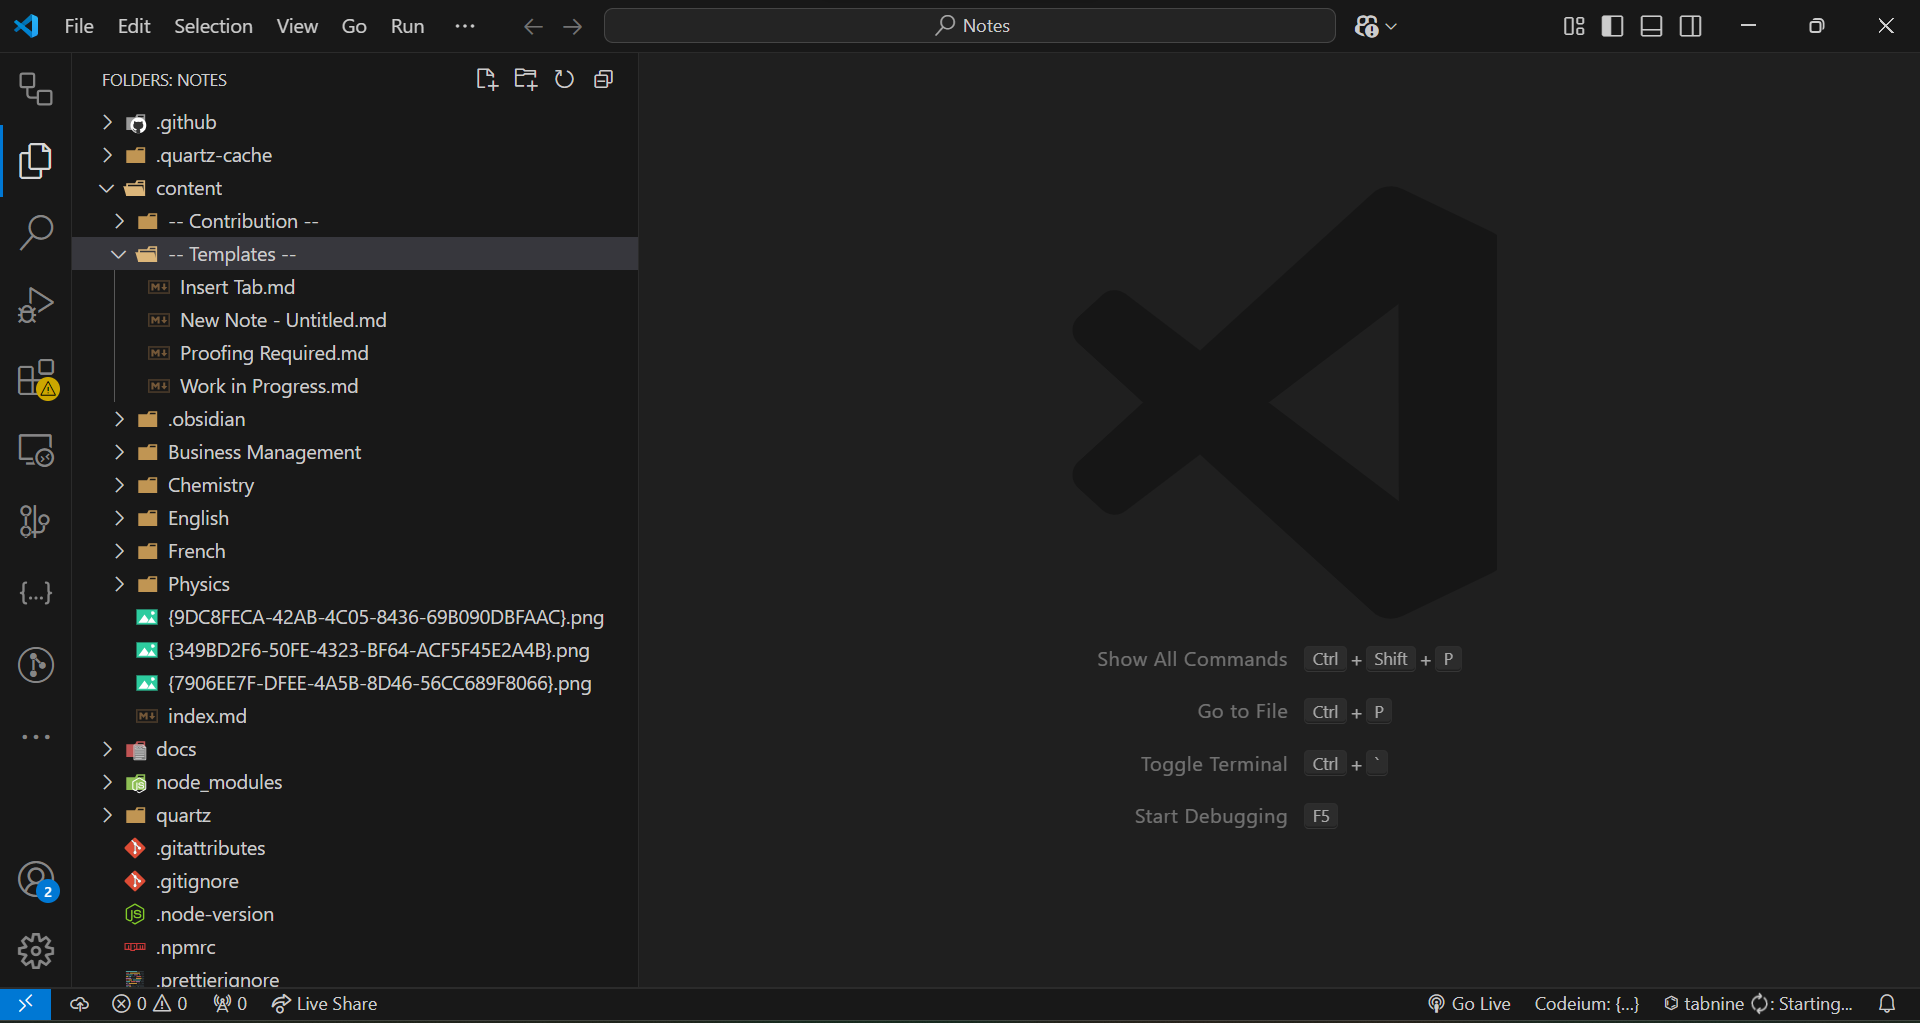
-
Open the in-built terminal by clicking
ctrl+~buttons on your keyboard. It will look a bit like this: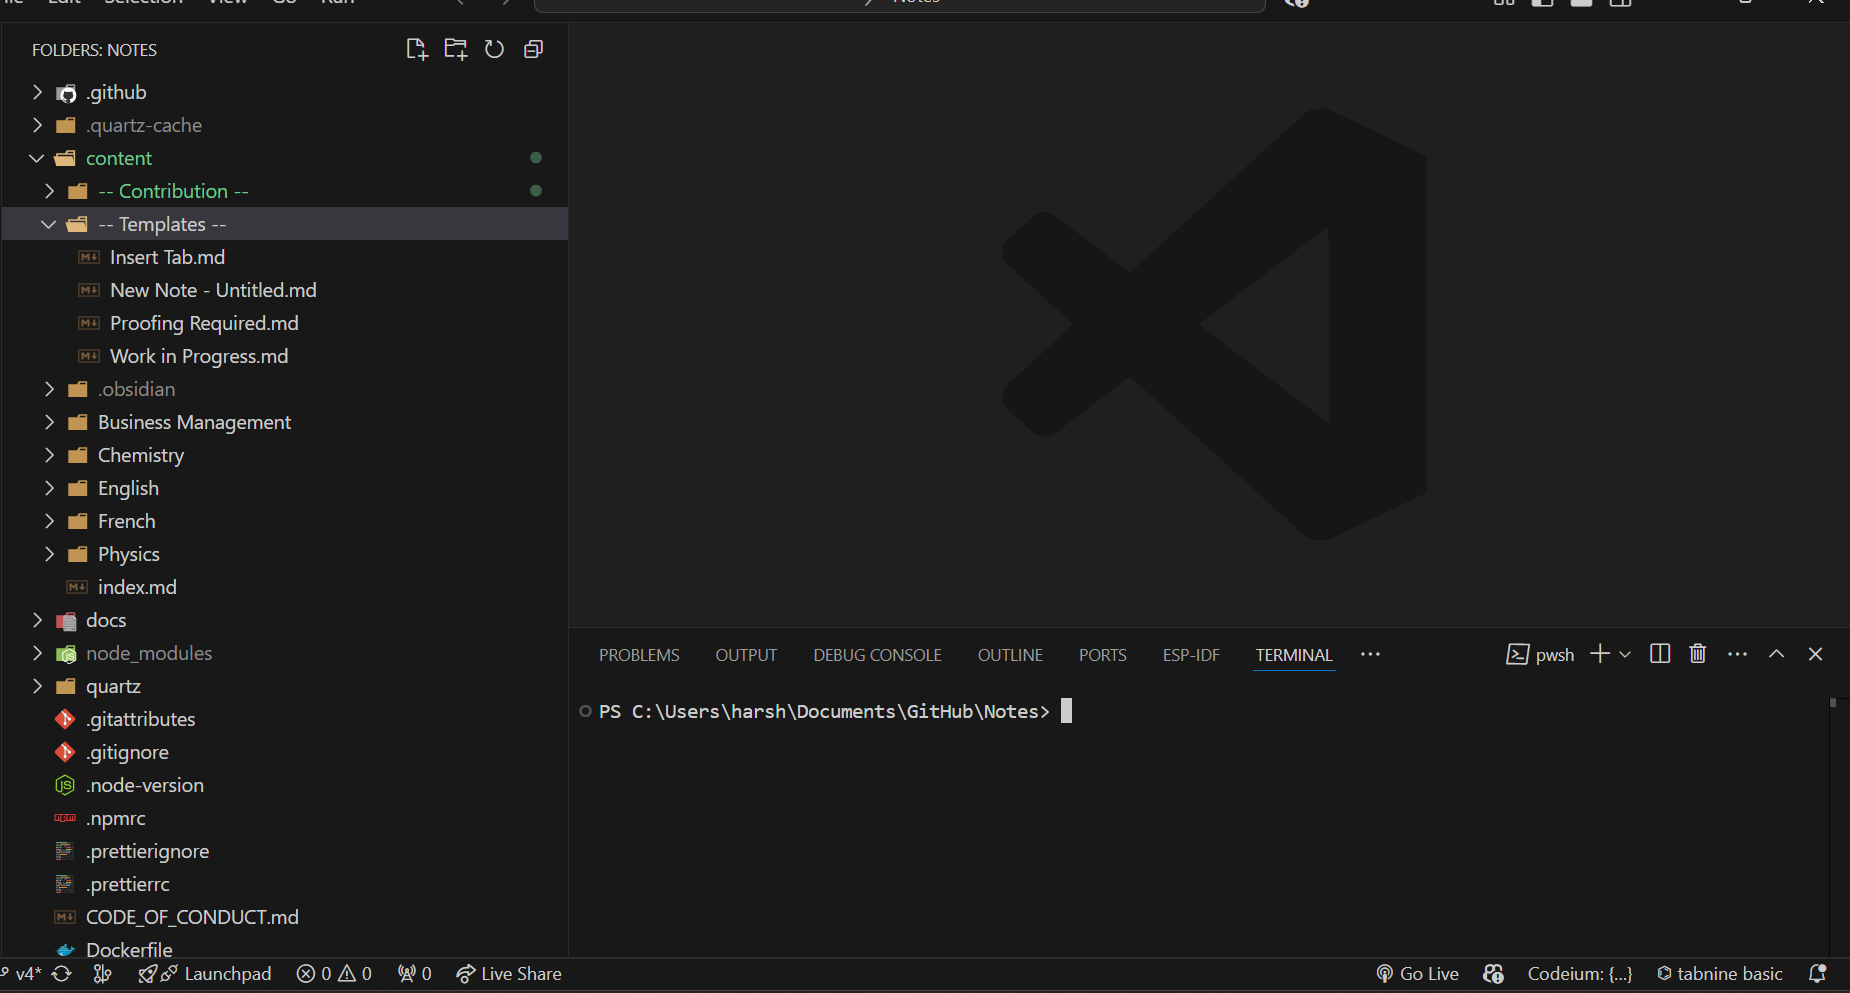
-
Run the command
npm iin the terminal.
If steps 8 do not work, Try the following:
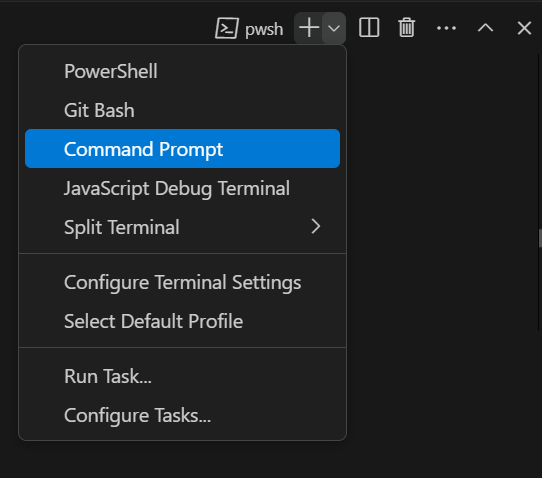
Click the little arrow beside the
+symbol as shown below and select `Command Prompt.
This will open a new terminal page but this time using
CMDinstead ofPowershellTry
npm iin the terminal again.If it doesn't work contact Harsh.
- To ensure that your local files are the same as the one on the server, run the following command in the terminal.
npx quartz sync --no-push --pullWarning
Running this command will remove any modifications made to the content folder and any other files inside the parent “Notes” folder. So don’t edit any files before the setup is finished.
Test Syncing
To help other know that you have successfully completed the setup, perform the following steps:
-
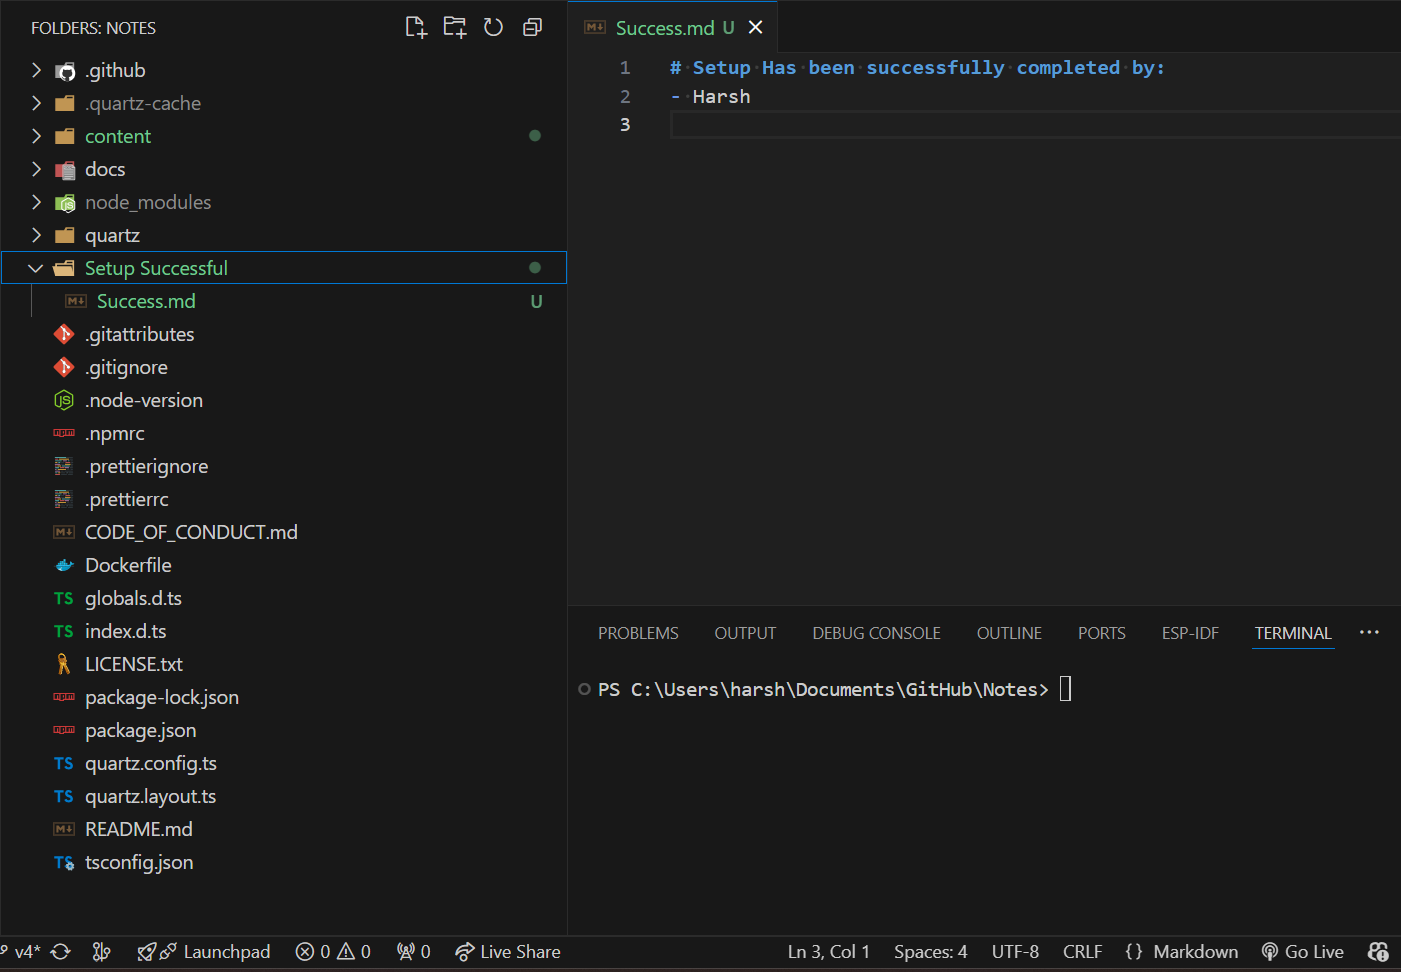
Under Files there will be a folder called “Setup Successful”. In this folder there will be a file called, “Success.md”. Click on that file and open it up. It will look a bit like this:
-
On a newline, add ”- ” followed by a space and then your name.
-
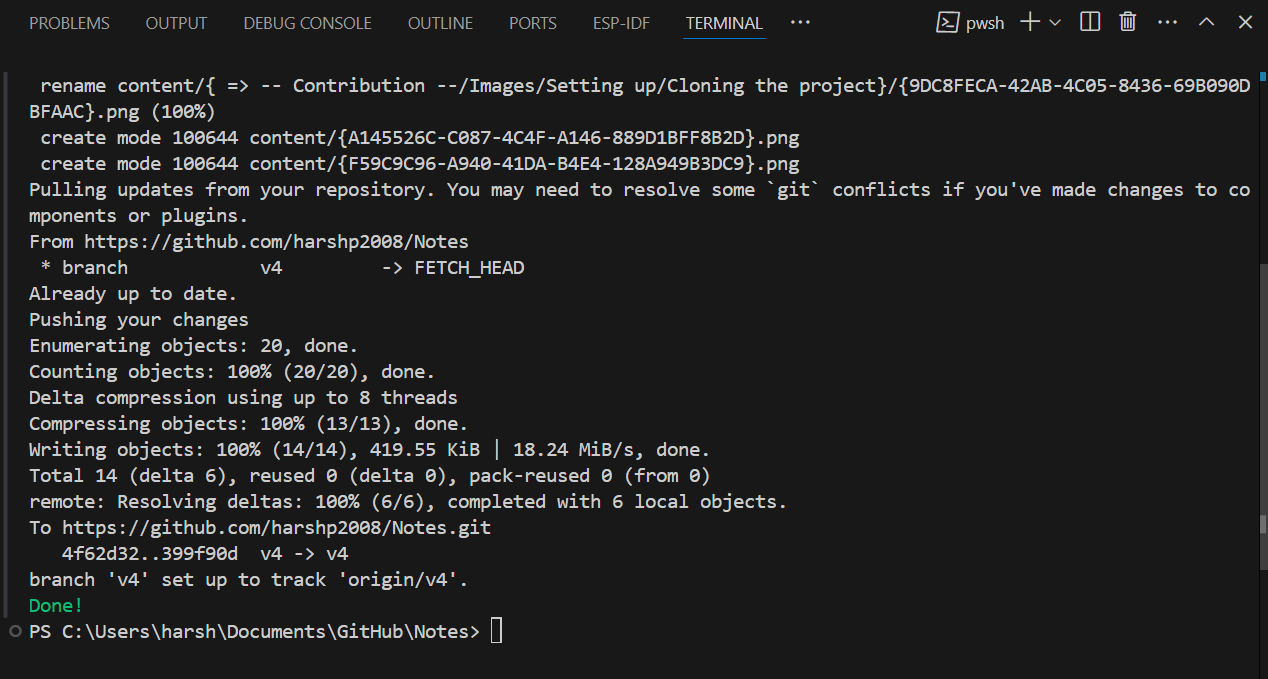
Open the inbuilt terminal if it not open yet, and run this command, but replace [Your name] with your real name:
npx quartz sync -m "[Your name]'s PC has been succesfully set up."-
Running the above command, will produce and output that resembles this:
Opening the folder in Obsidian
-
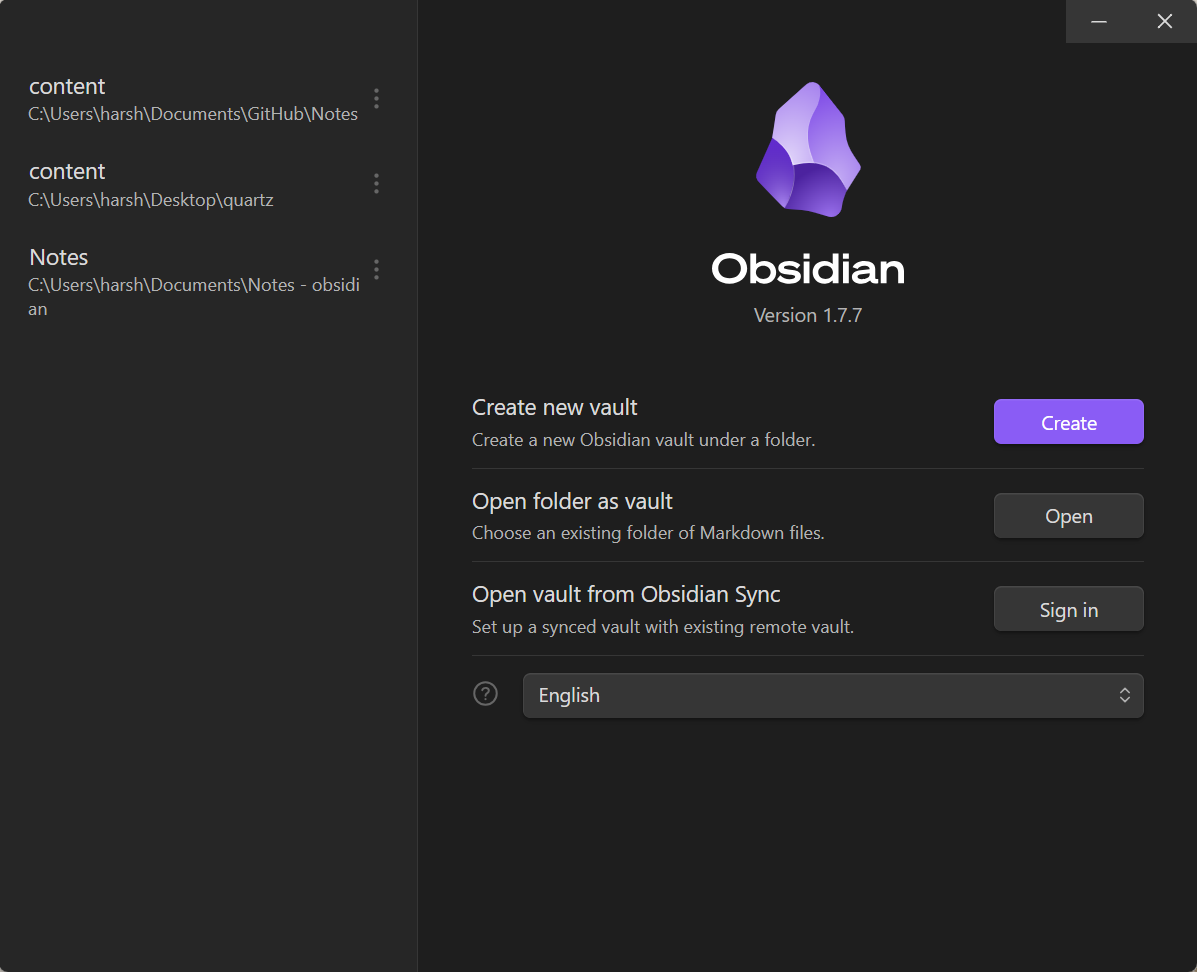
Open obsidian. It will look a bit like this:
-
Click on
Open foler as vaultand a file select window will open. Navigate toC:\Users\harsh\Documents\GitHub\Notesand select the foldercontent. Here is a picture of that: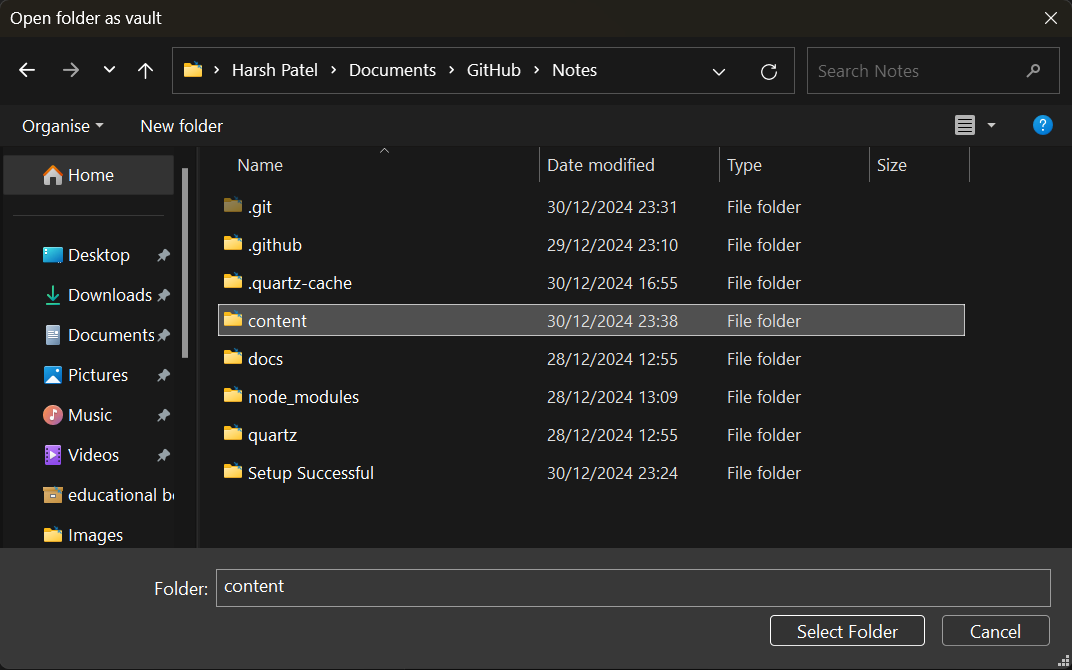
-
Upon clicking on it Obsidian will open. It should look like this:
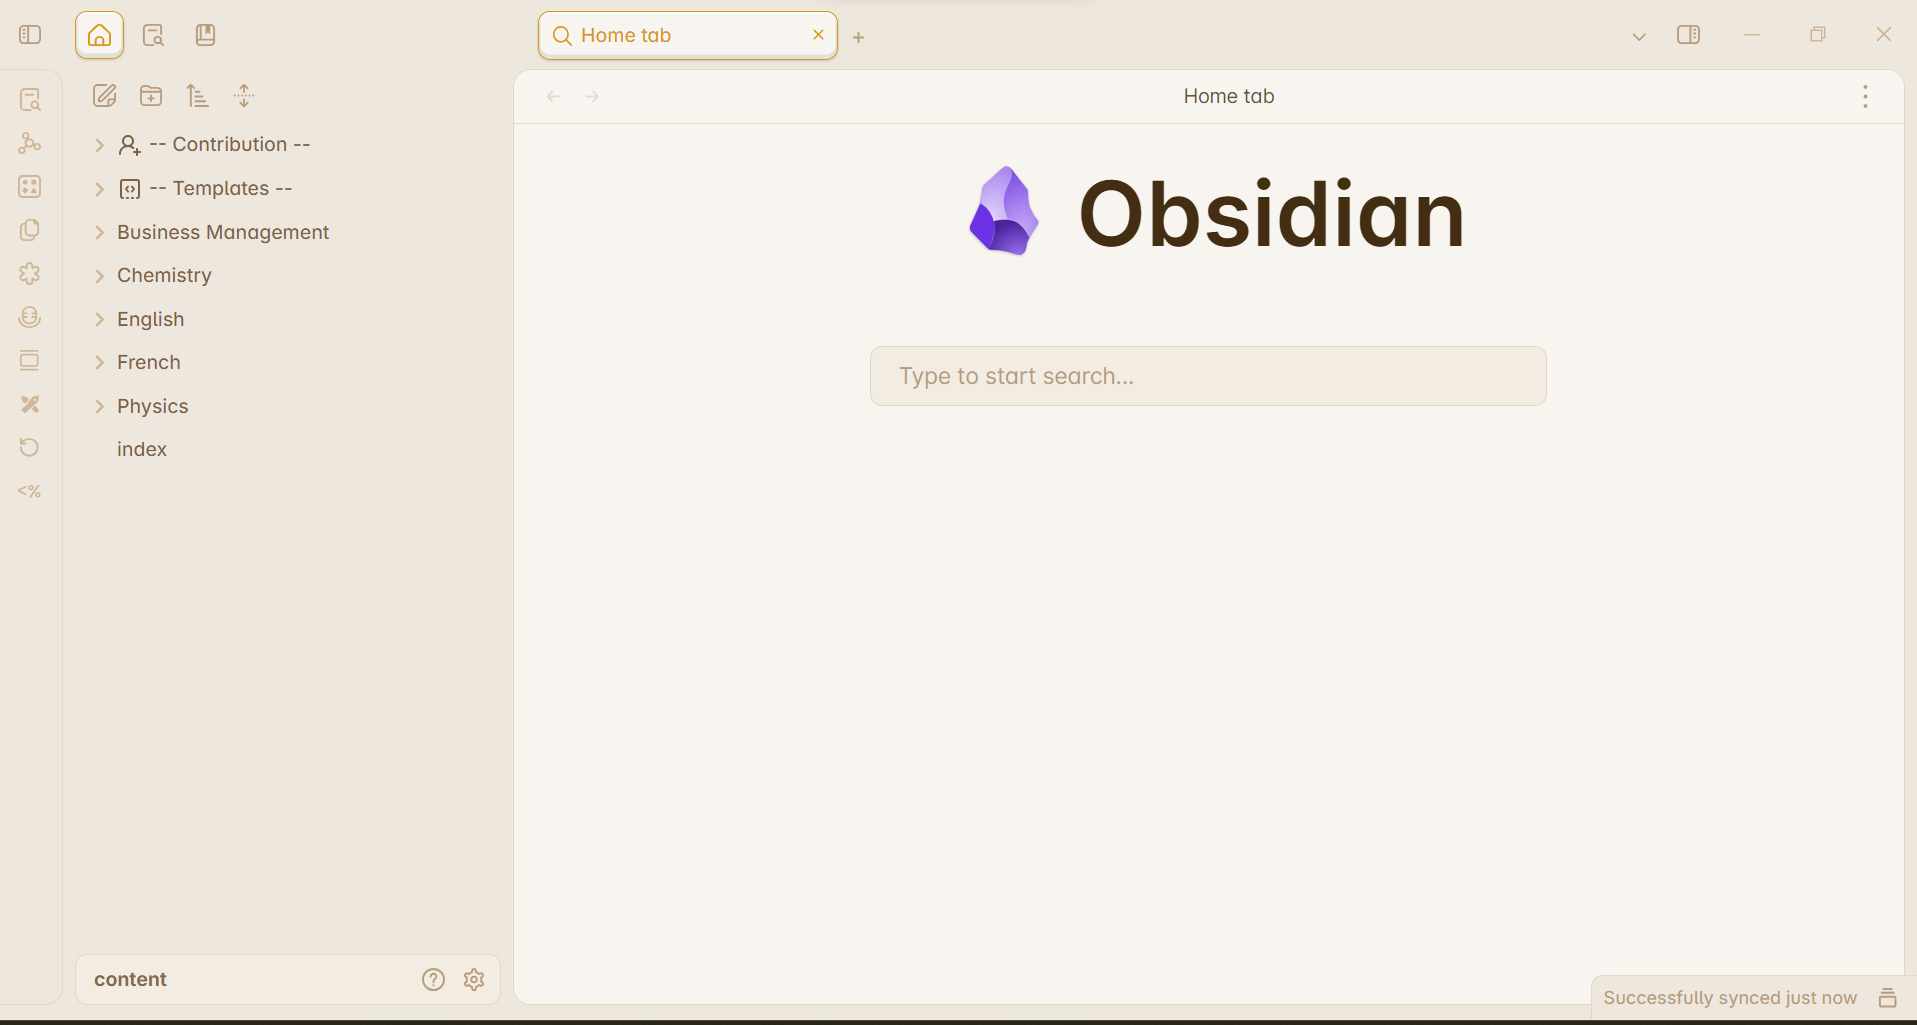
This is your Note taking Apps and here is the beautiful, clean interface where all Notes for Notescapes will be produced.
Next Steps
You have now successfully setup your system for Notetaking. Read other articles below to learn more about the workflow of obsidian + quartz 4.0:
